步進器 UIStepper
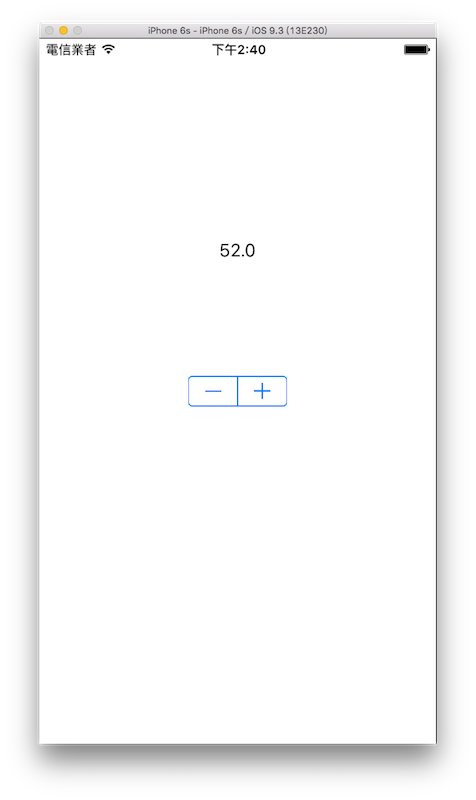
UIStepper 可以用來為一個數值作增減的動作,這個元件已經設定好增加及減少的按鈕,可以快速的建立起來。以下是本節的目標,使用 UIStepper 來增減數值並顯示在一個 UILabel 上:

首先在 Xcode 裡,新建一個 Single View Application 類型的專案,取名為 ExUIStepper 。
一開始先為ViewController建立兩個屬性:
class ViewController: UIViewController {
    var myLabel :UILabel!
    var myStepper :UIStepper!

    // 省略
}
接著在viewDidLoad()中建立一個 UILabel ,以供後續示範使用:
// 建立一個 UILabel
myLabel = UILabel(frame: CGRect(
  x: 0, y: 0, width: 100, height: 40))
myLabel.text = "0"
myLabel.textColor = UIColor.black
myLabel.textAlignment = .center
myLabel.center = CGPoint(
  x: fullScreenSize.width * 0.5,
  y: fullScreenSize.height * 0.3)
self.view.addSubview(myLabel)
建立 UIStepper
在viewDidLoad()中建立一個 UIStepper :
// 建立一個 UIStepper
myStepper = UIStepper()

// UIStepper 預設值
myStepper.value = 0

// UIStepper 最小值
myStepper.minimumValue = 0

// UIStepper 最大值
myStepper.maximumValue = 100

// UIStepper 每按一次按鈕 增減的數值
myStepper.stepValue = 2

// UIStepper 是否可按著增減按鈕持續變化數值
myStepper.autorepeat = true

// UIStepper 是否可以在變動時同步執行動作
// 設定 false 時 則是放開按鈕後才會執行動作
myStepper.isContinuous = true

// UIStepper 數值是否可以循環
// 例如填 true 時 如果值已達到最大值
// 再按一次 + 會循環到最小值繼續加
myStepper.wraps = true

// UIStepper 按下增減按鈕後 執行的動作
myStepper.addTarget(
  self,
  action: #selector(ViewController.onStepperChange),
  for: .valueChanged)

// 設置 UIStepper 位置並放入畫面中
myStepper.center = CGPoint(
  x: fullScreenSize.width * 0.5,
  y: fullScreenSize.height * 0.5)
self.view.addSubview(myStepper)
請注意 UIStepper 的尺寸長寬是固定的,無法變動。
接著為ViewController加入 UIStepper 按下按鈕後執行動作的方法:
@objc func onStepperChange() {
    // 將 UILabel 的值設置為 UIStepper 目前的值
    myLabel.text = "\(myStepper.value)"
}
以上即為本節範例的內容。
範例
本節範例程式碼放在 uikit/uistepper